Welcome to the third part of this four part guide on how to create time lapse films. In this third part of the guide, we’ll cover how to capture time lapse, covering all shooting considerations from image quality settings to using intervalometers. If you haven’t already read the first and second parts our of guide, click here to read ‘Part 1: Time Lapse Basics‘, or here to read ‘Part 2: Time Lapse ‘Equipment‘.
shooting time lapse
We’ve already covered most of what you need to consider in preparation for the time lapse capture (here and here), so by this point you should have your equipment ready and an event in mind that you want to time lapse. All that’s left to do before treating the footage is to go out and actually capture it. If you haven’t already checked, you should make sure that you and your equipment are in a safe place and that no harm is likely to come to you, it, or others nearby. Your time lapse set up could be in position for quite some time so considering how secure it is, especially if you are leaving it unattended, is also worthwhile. Weigh tripods down or add cable-ties to grips if necessary to aid stability.
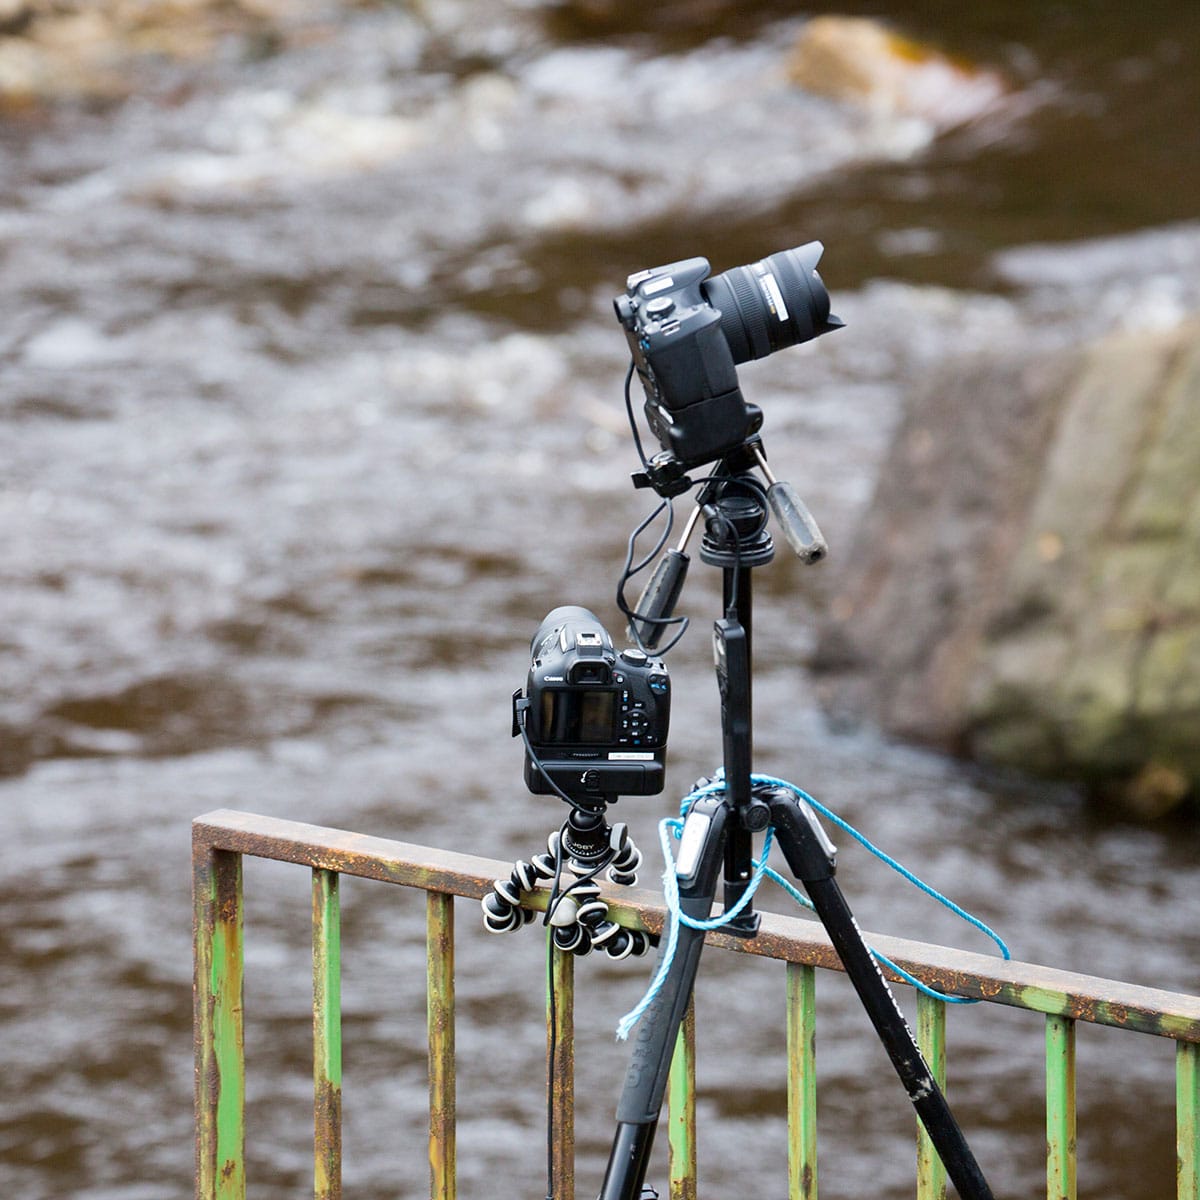 Two of our time lapse cameras; one held with a ‘Gorilla Pod’ by Joby, and the other on a tripod, tied to the handrail to prevent it falling in wind
You need to make sure that you have enough battery power and storage for all the images your camera is going to take. It is worth doing a test to see how long your battery will last. Bear in mind that different intervals and ambient temperatures will all have an effect on battery life; if you shoot one photo every thirty seconds you will find that the battery lasts longer than if at every second, say. And if your time lapse camera is out in the cold it is likely that the battery will last far less than the test you might have done in your nice warm studio or living room.
For regular stills photography we’d normally recommend you shoot with your image quality set to RAW, allowing you to retain maximum image quality and therefore the best option for editing your images. For time lapse photography however we recommend you set your camera’s image quality to a .JPEG (often also written as .jpg). Normally our on-the-ground camera team set our cameras to JPEG quality: ‘S-standard’. Although limiting what you can do with individual images in terms of post-processing, shooting your time lapse in JPEG means you won’t be running out of memory card space nearly as quickly as in RAW, plus the computer you use for editing all the time lapse photos will thank you too! In any case, fire off a few shots and check to see what your image file-sizes are like. From there it’s only a simple calculation to work out how many images you can fit on your memory card/camera storage before you’re out of space.
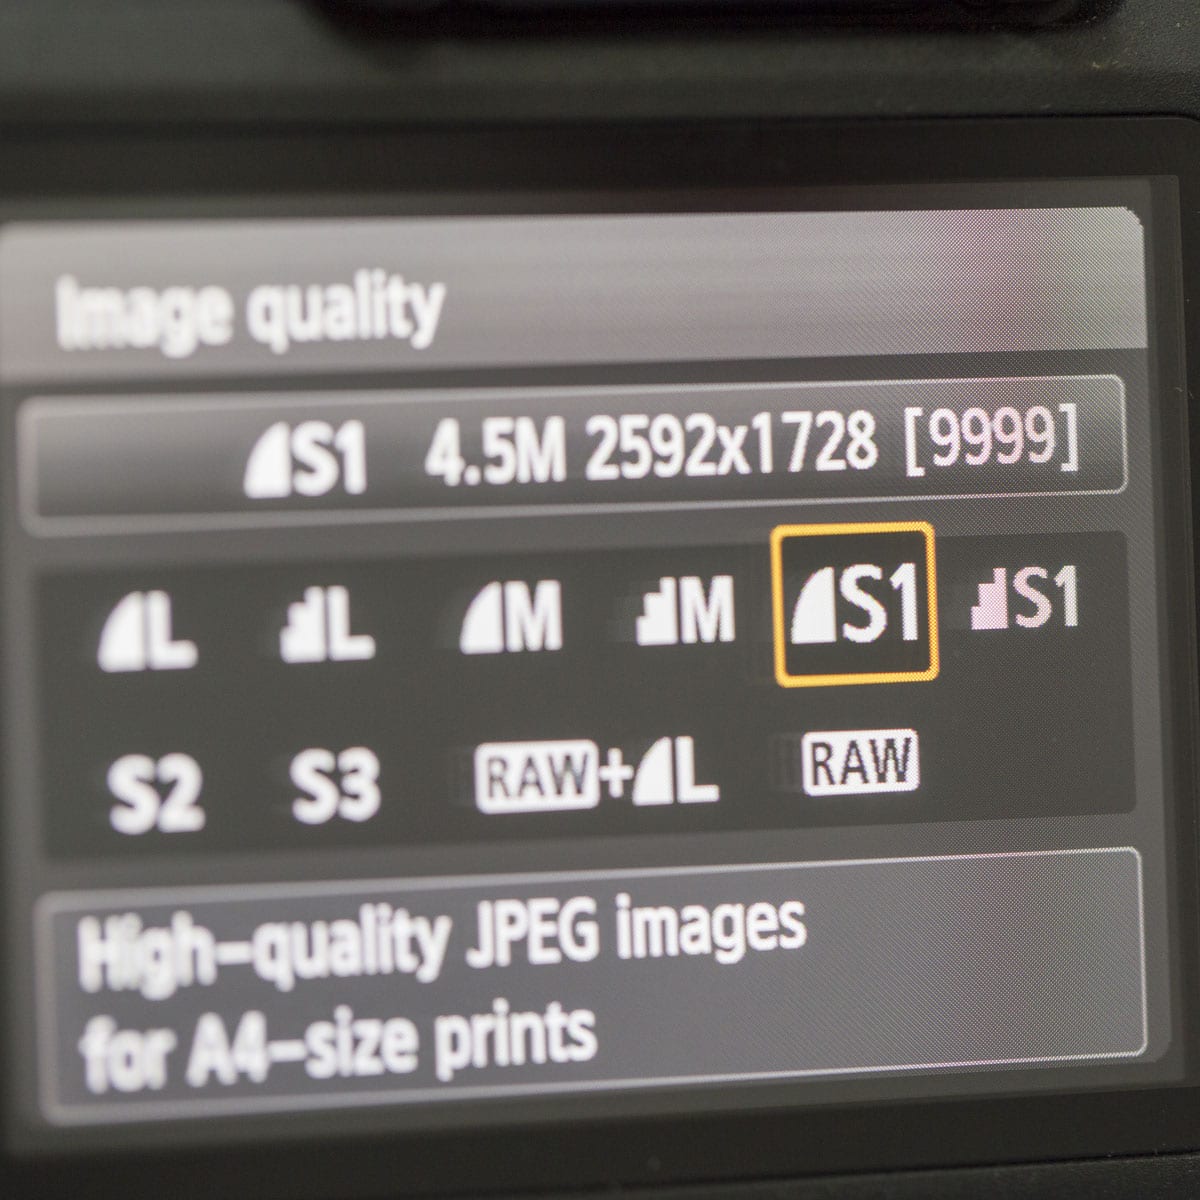 Setting the image quality in the Canon 1300D’s settings menu settings
Even after these tests, take spare memory cards and batteries if you’re worried you might miss your time lapse event due to running out of power or storage space.
Once you’re at your location, take a few test shots and review them to make sure the framing is right. Now is also your opportunity double check all of your camera (and lens) settings are right. Here are some basics that are easy to forget if your camera is normally set up in a certain way:
• Where possible your lens/camera should be switched to manual focus mode, that way in your time lapse video the focus won’t seem to ‘jump’ around, as the camera tries to focus itself every single photo.
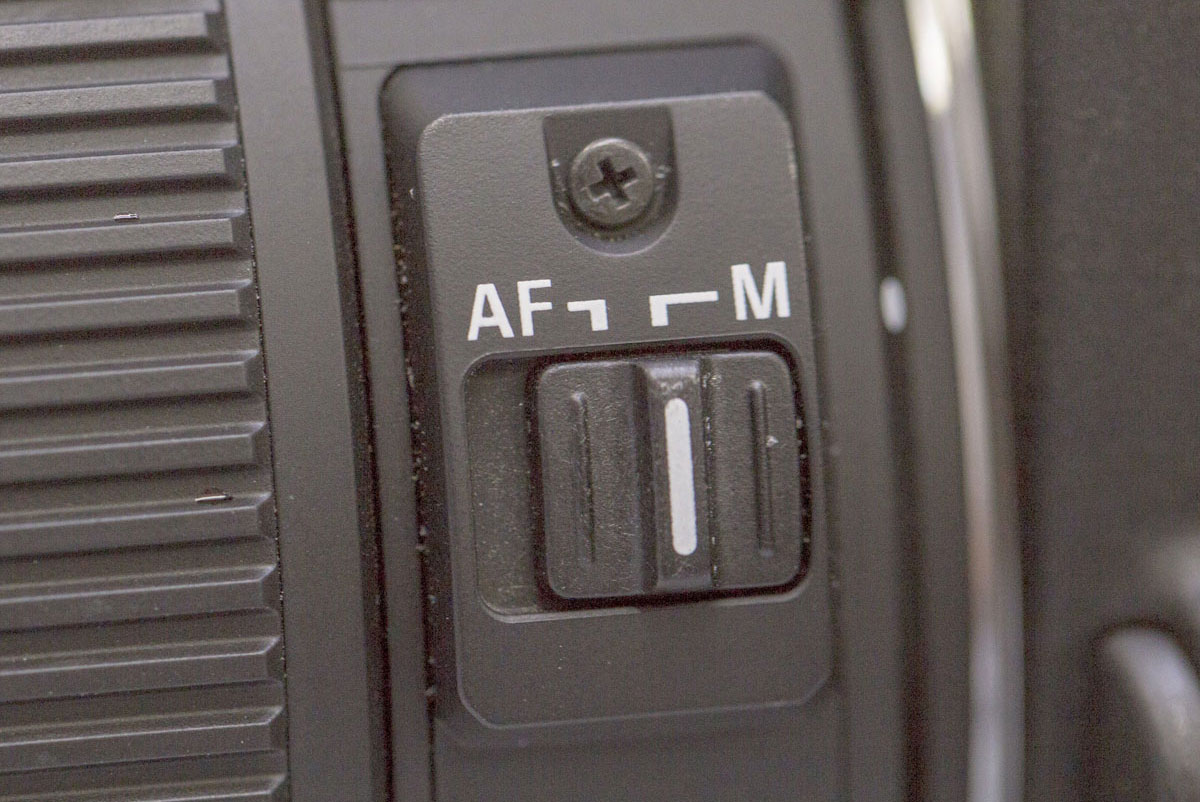 Where possible, switch your lens to ‘manual’ focus, this will stop the focus from ‘jumping’ in your time lapse video
• Turn off any automatic ‘image review’ mode on your camera. Leaving it on will lead to unnecessary battery usage and possibly lead to ‘skipping’ shots if you have a short interval.
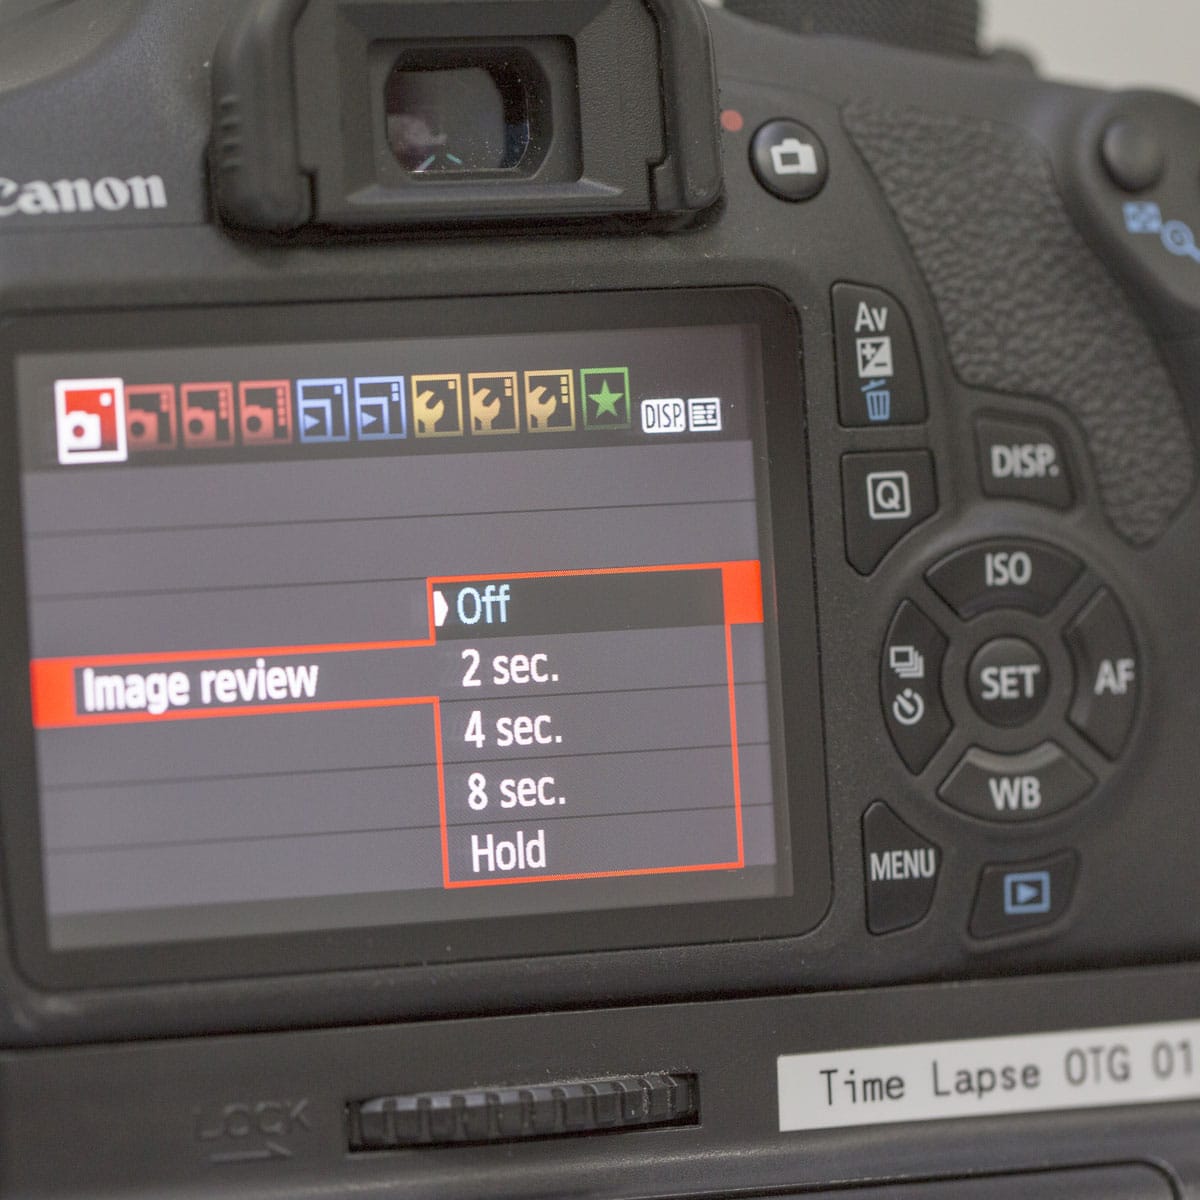 Disabling ‘image review’ will give better battery life while shooting time lapse
• Double check the date and time is correct on your camera. We strongly advise against visible timestamps on your actual images, it’s somewhat ugly and unprofessional, but having accurate capture time data attached to each shoot means being able to accurately check when you took a batch of time lapse photos and can save time when editing and file-keeping.
• Reset your image counter to ‘zero’. Again, this is just a preference thing but we’ve found it makes it easier to import, edit and export a folder of images when they are all in a numbered/named sequence; it can get quite frustrating when a camera has ticked over past ‘image number 9999’ and gone back to ‘0001’ with images then being read out of order, or placed in a new folder altogether!
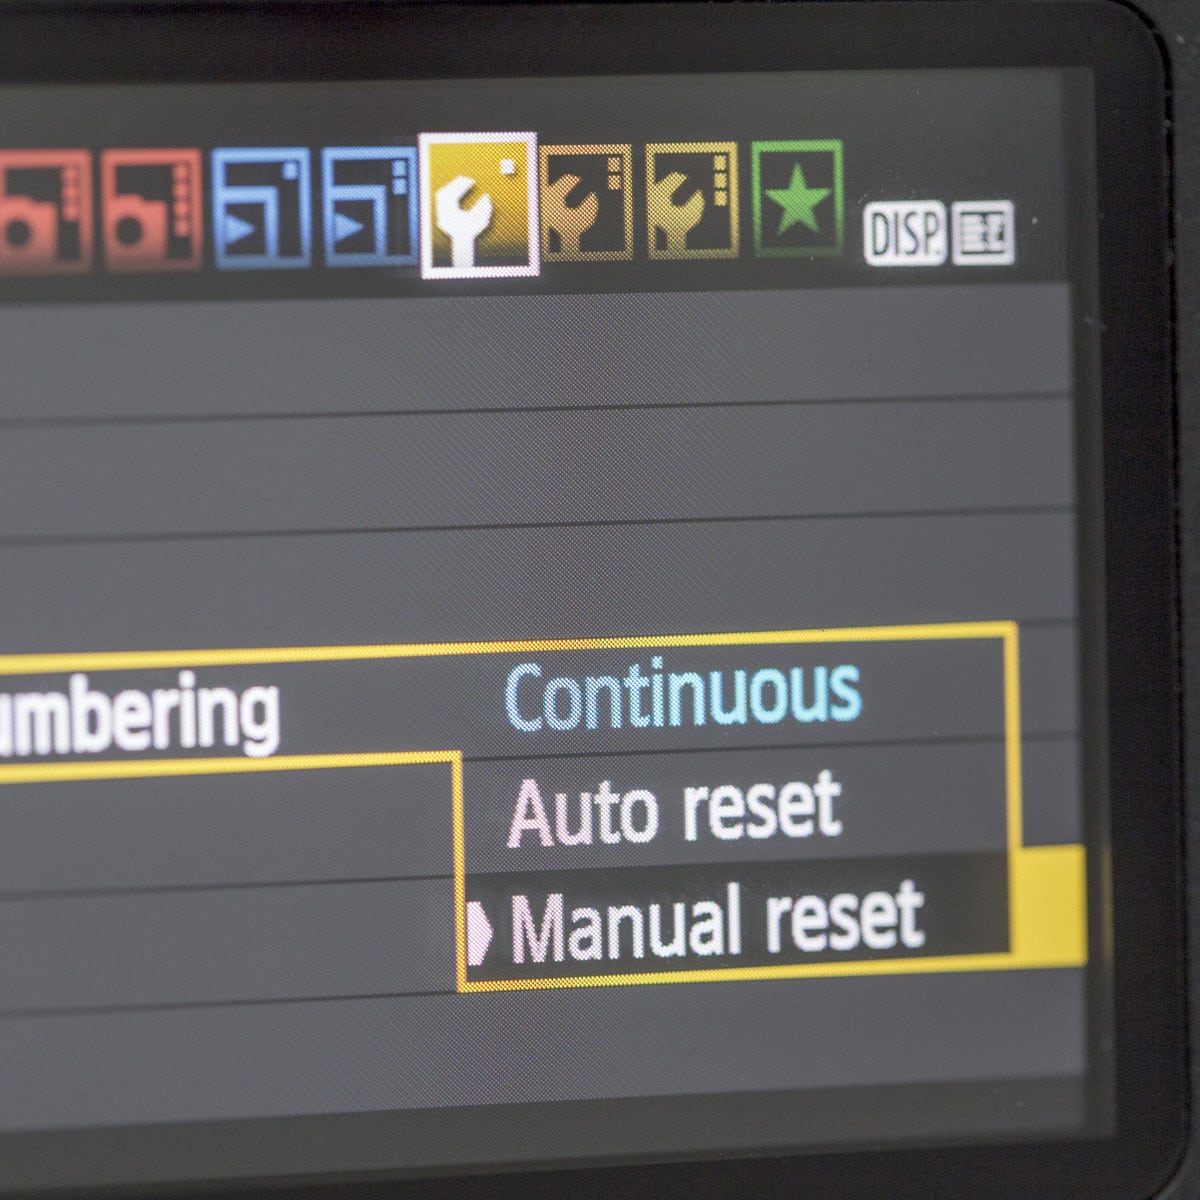 Resetting your camera image counter to ‘zero’ can help save time later, in the editing process
• Another thing to check and change according to preference is any beep and/or light settings. Leaving them on can be distracting. It’s also wise to turn off your LCD display too once you’re set up if you’re worried about battery life.
If you’re shooting your time lapse with a DSLR we’ll assume you understand how to set up your camera to expose correctly in manual mode, or are at least getting to grips with it if you’re a novice photographer. Whatever mode you set your camera to will be based on a number of things like available light and creative intent. Going back to our earlier example of time lapsing a city street; you may prefer to have the people walking and vehicles driving to appear sharp in every frame, or you may prefer them to be blurred slightly (or a lot) to emphasise their motion.
Setting shutter speed, aperture and ISO (light sensitivity; equivalent to film speed in photographic film) through manual mode gives you the maximum creative control but if the setup is left running too long without adjustments there is a risk of over/under exposing the images as light levels increase/decrease. Even so, this is often the best choice for relatively short time lapses. Shutter priority mode (Tv) will make sure the amount of time the shutter stays open for is the same every single frame. If the light level changes enough between shots this might lead to the aperture automatically stepping up or down in order to preserve the set shutter speed, the effect of which will be a video that seems to ‘jump’ focus and flickers. Similarly setting an F-stop (aperture) value will give you control over depth of field but is subject to automatic changes in shutter speed. For example If the light level drops when shooting in Av mode the shutter will need to stay open for longer to compensate for the fixed aperture. The possible effect of which is a time lapse film where sometimes the motion is crisp & sharp then sometimes it is soft & blurred, as well as also ‘flickering’.
If you’ve come this far, set that intervalometer firing and wait!
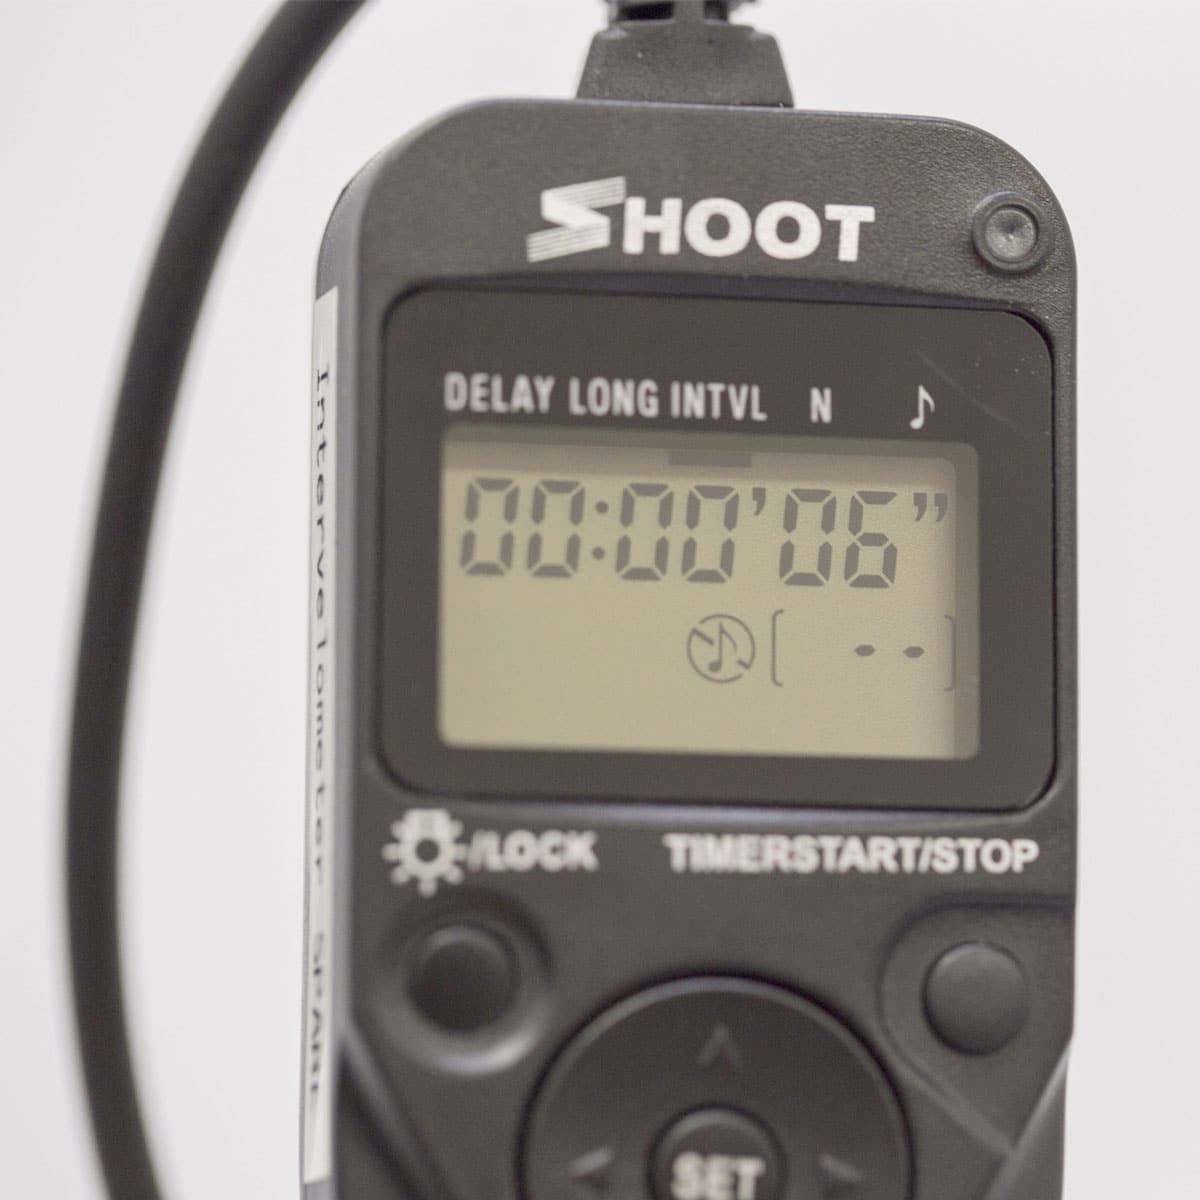 One of our intervalometers
We hope that you’ve learned more about different shooting considerations and wish you luck to capturing your next time lapse! Click here to read the fourth and final part of our series on how to create time lapse films. This will focus on how to process your time lapse images for the best video results!
[contact_cta]